
Replacing the headlights in your 2015 GMC Terrain is not only a matter of nighttime driving safety, but it also yields substantial savings over having your car serviced at a mechanic. Dim or faulty headlights can really cut down on your visibility when driving, which can lead to accidents.
By being aware of how to change a headlight in a 2015 GMC Terrain by yourself, you can reduce repair expenses and keep your automobile in the best condition. This straightforward task takes a few steps and tools, which makes it convenient for you to change the bulbs and have your vehicle’s headlights functioning at full capacity.
Tools and Materials You’ll Need to Change the Headlights
Before you begin replacing your headlight, it’s important to gather the right tools and materials to make the process smooth and efficient. Having the correct tools on hand ensures the job is completed quickly and reduces the risk of damaging parts. Here’s what you’ll need:
- Screwdrivers (Flathead and Phillips): You’ll need both a flathead and Phillips screwdriver to remove screws and fasteners securing the headlight assembly.
- Replacement Headlight Bulbs (Specific to 2015 GMC Terrain): Make sure you buy the right kind and size of bulb for the headlight System on your car.
- Socket Wrench Set: A socket wrench will help you easily remove bolts that may be securing the headlight housing.
- Gloves: When handling always wear gloves when handling a headlight bulb because the oils on your skin can cause damage and shorten its lifespan.
Having these tools ready will streamline the process and help ensure you replace the headlight safely and effectively.
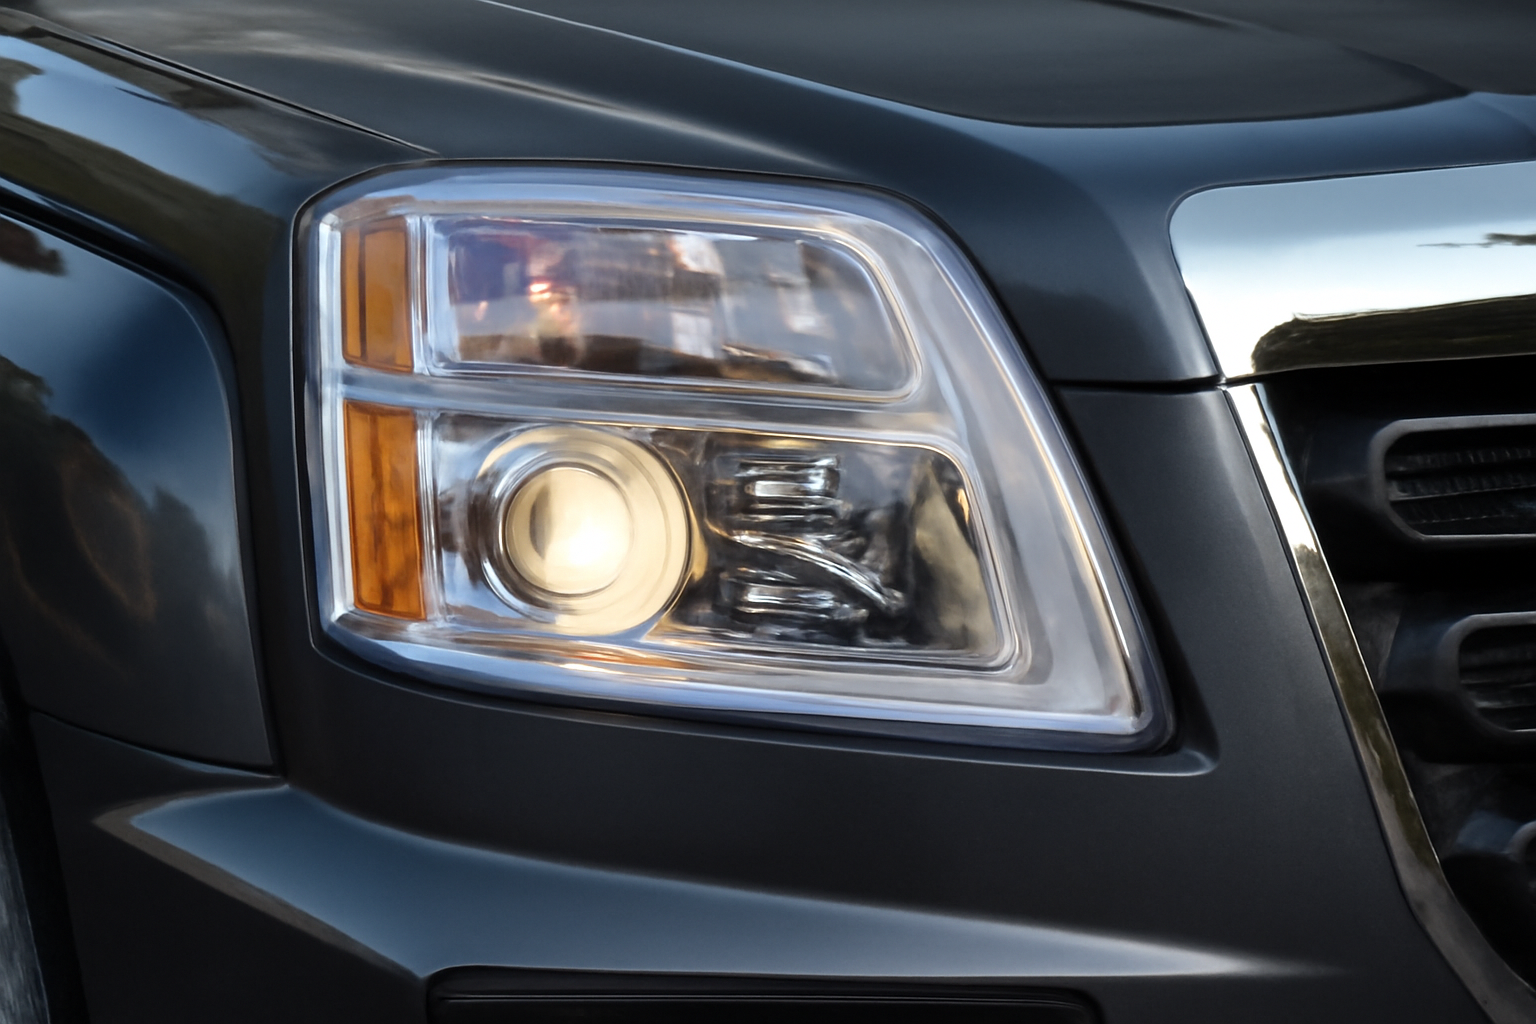
How to Remove the Headlight Assembly on a 2015 GMC Terrain
Accessing the headlight assembly on your 2015 GMC Terrain requires a couple of steps, but if you know where it is, it’s not really a difficult procedure. Simply follow these steps to access the headlight assembly and replacement will be much simpler:
- Open the Hood: Begin by opening the hood of your GMC Terrain. Hold it in place using the hood prop to keep it steady as you tinker.
- Locate the Headlight Assembly: The headlight assembly is where the bulb is located and can typically be located in the front of the vehicle, usually the top corner of the engine compartment.
- Remove any Covers or Panels: Some models may have a plastic panel or cover in the path of the headlight assembly. Remove any screws or clips holding the panel in place with your screwdriver and gently lift it out. Once you can reach the assembly, You’ll be prepared to take out the old lightbulb and put the new one in place old bulb and the installation of the new one.
Step-by-Step Guide: Removal of the Old Headlight Bulb
Now that you have access to the headlight to safely remove the old headlight bulb from your GMC Terrain, follow these steps. The removal of the bulb must be done carefully to avoid damaging adjacent parts:
- Disconnect the Vehicle’s Battery (Optional for Safety): While not absolutely required, disconnecting the battery offers additional peace of mind when working in close proximity to electrical components.
- Unbolt the Headlight Assembly: Remove any bolts or screws holding the headlight assembly in place with a socket wrench or screwdriver. You can then gently pull the assembly forward as a result.
With the old bulb removed, you’re now ready to install the new one.
How to Install the New Headlight Bulb on the 2015 GMC Terrain
Installation of the new headlight bulb is simple, but one must handle the new bulb gently so it is not damaged. To properly install it, follow these steps:
- Install the New Bulb into the Socket: Insert the new headlight bulb into the socket. Make sure it is properly seated and oriented in its correct position to offer correct lighting function.
- Secure the Bulb Correctly: After inserting the bulb, twist or press it a little to lock it into position. This will hold the bulb in position when in use.
Realign the Headlight Assembly and Secure the Screws: Once the bulb is secured, replace the headlight assembly to its normal position. Secure the screws with your screwdriver or socket wrench to lock the assembly back into place.
Ensure that the bulb is firmly in place before moving on to the next step.
Testing the New Headlight
Once the new bulb is installed, it’s time to test the headlight to ensure everything is working properly. Testing is essential to verify the bulb is functioning as expected:
- Turn on the Vehicle and Test Both High and Low Beams: Start your vehicle and turn on the headlights. Test both high and low beams to check for full functionality of the new bulb.
- Check for Alignment and Brightness: Stand in front of the vehicle to ensure the headlights are aligned properly. The light should be evenly distributed, and the brightness should be consistent with the other headlight.
If everything looks good, you’re all set with a fully functioning headlight!
Avoid These Common Mistakes When Replacing Headlights on a 2015 GMC Terrain
To ensure your headlight replacement is done correctly, avoid these mistakes that may cause issues down the line:
- Using Bare Hands to Touch the Bulb: Wear gloves whenever you handle a headlight bulb. Your skin’s oils may produce hot spots on the lightbulb, which could cause failure or early burnout.
- Over-tightening Screws and Damaging Parts: When reassembling the headlight assembly, avoid over-tightening screws or bolts. This can strip threads or crack the housing.
- Not Properly Sealing the Headlight Assembly: Ensure the headlight assembly is sealed properly to avoid moisture entering the unit. Moisture can cause the bulb to fail or fog up the lens, reducing visibility.
By being mindful of these common pitfalls, you’ll be able to complete the replacement efficiently and effectively.
Conclusion
Anyone can perform the easy task of changing a headlight on their 2015 GMC Terrain with the correct tools and a patience. It includes the removal of the old bulb, checking that the new one is suitable, and fitting it properly. The bulb should be treated gently to avoid breakage and ensure functionality.
Doing the headlights regularly enhances your car’s safety and performance. Promoting self-repair not only saves you money but also increases your self-confidence in car upkeep. In case you require replacement bulbs or you need some help, don’t be afraid to contact an expert for advice.

Hello there, this is Thomas Byrd. I am a professional car mechanic who leads a team of junior mechanics in a repair and restoration shop. In the beginning, I used to work for a jeep service center as a basic worker. From there I keep learning, changed my job 2 times and now I am a professional who leads a group of mechanics. Though a have expertise in the jeep, I know very well about all types of cars. To share my knowledge and skills with others I have created this blog website. Whenever I get free time from work I give my time to my blog.